Showing posts with label Terrain. Show all posts

Wednesday, May 7, 2014

Dark Age house test wall (part 4)

So last I left you I had primered test wall #2 with cheap black acrylic. It's easy to see below that it's much harder to hide the PVA under the skinnier balsa wood.


The wattle & daub dry-brushed with some greys and a white.


The wood was done with browns mixed down repeatedly with light ivory.


I still need to weather the door pull. Probably just dry-brush with silver.


Here's a comparison between the first and second test walls. It became pretty obvious the foam core has a grain to it. I'm not sure which I prefer looks-wise, but the horizontal seems less resistant to warping.


I'm very happy with the way the second wall came out. Looking forward to moving on to a corner...

Saturday, May 3, 2014

Dark Age house test wall (part 3)

It took a while for my to source some balsa, but I'm liking it better than liberated coffee stirrers for the bracing on the new test wall. It cuts more easily, it takes texture better, and it looks more true to scale. 

I bought 3" x 1/16" x 36" balsa sheets and trimmed them to size. I cut it into more manageable 12" sections as soon as I got it home. I'm a big fan of the Alumicutter ruler, but it's still harder than I thought to keep the cuts straight. Might invest in a stripper if I keep this type of work up.


Went with balsa sheets and cut to size
Basic structure in place
Didn't fancy the last carved foam door, so went with balsa
Didn't want foam showing by the door jam, so cut in some shims
Close up of the knotty door and jam
Jazzy door pull courtesy of the wife's jewelry making supplies
Close-up of the door & pull
After two coats of dilute black craft acrylic

I'm thinking I should use 1/8" balsa (2x thickness) at the corners and door jam. Basically anywhere you can see two sides of the wood. Guess we'll find out when I attach another wall to this puppy!

That's all for now. Looking forward to dry brushing this one up.

Thursday, April 10, 2014

Dark Age house test wall (part 2)

Had a blast dry brushing the test wall. I think it came out pretty well. Learned a few things too.

Finished Construction

First coat of cheap craft black paint (added a second later)

Wood dry-brushed with cheap craft Burnt Umber 

Wood dry-brushed with cheap craft Spice Brown

Wood dry-brushed with cheap craft Bridgeport Grey

Wattle dry-brushed Charcoal, then Hippo Grey,
then Bridgeport Grey, then Antique White

Key takeaways:
  • Paint the wattle first - I ended up having to touch-up the wood beams quite a bit
  • Scuff up the boards well BEFORE assembly - especially the edges
  • Not happy with the plastic-coated paper business card I used for the door horizontals - it didn't take to texturing very well (or perhaps I forgot to do it!)
  • I need some different sized wood - the coffee stirrers are too thick and a pain to cut down
All in all, pleased as punch with how it turned out though. Good fun!

Saturday, April 5, 2014

Dark Age house test wall (part 1)

Made some progress on the test wall this week.

It started off as a sheet of Elmer's foam core board. I peeled the paper off of one side so I could give it some texture. That was rather a pain. Maybe I will try wetting the paper with water (or Windex) next time as others suggest.

Then I used an el cheapo wire brush assortment to give a rough, vaguely swirly texture to the walls in a effort to make it look like wattle and daub. I may even try to carve in some detail of wattle poking through.

Next up was cutting up some coffee stirrers to use as wood beams. I worry these may be a bit to wide to be realistic, but that's why we do things like test walls, right?


The building I'm basing this on doesn't have a door on the end wall, but again, this being a test I might as well test doors too. This one was made by scribing the foam with a mechanical pencil. The horizontal boards on the door are cut from business card.  The door jams are an attempt to cut down the too-wide coffee stirrers. Kind of hard to control how wide they will be when cutting with the grain, but I think that adds to their Dark Age charm.


The whole door was cut out from the wall and then recessed slightly. Probably not necessary with the wood frame but again: test, test, test!

Sunday, March 30, 2014

I'm back...

Well, what started out as a little time off due to the frustrations of working in small batches (because of time and space limitations) turned into a major hiatus.

But I'm feeling the itch again and I've decided to do a mess about with some foam core buildings:


I found some very limited plans here:


Let's see how far along I can get on this project before wandering off to start something completely different...


Saturday, January 11, 2014

Building Reference

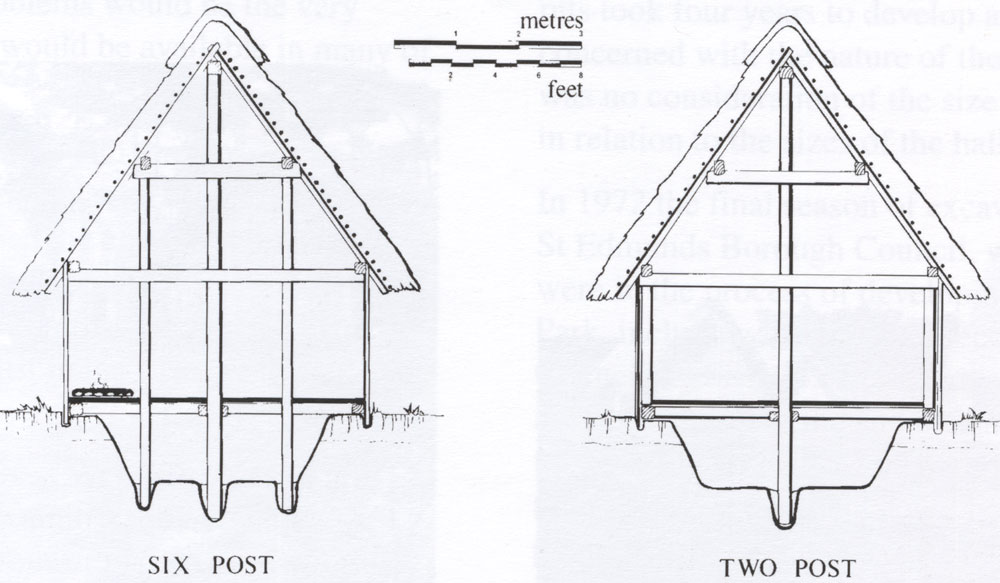
This video is a bit of a bore, but the narrator does a good bit of poking about the dark age Anglo-Saxon houses at the West Stow Anglo-Saxon village:


I stumbled across the video while exploring a local library with my daughter. Not sure I'd pay much for it, but as a freebie I thought it was worth a "viddy." 


Friday, December 27, 2013

Marching Fort corner (part 4)

Finally making some progress again after the holy-days. Here are the BBQ skewer stockade walls right after cutting and pointing them. They are just stuck in for fit testing.


Here they are glued into the base. They were first glued to the cross-members and then dry-brushed various shades of grey and brown. I used shorter half-rounds for the cross-members this time. On the last wall section a single, round, cross-member went all the way across. That's one tall tree! Plus, you know my motto: you can't change enough things. I also hit some of the larger stones on the terrain with some greys.


I had an issue when I got started this evening. Red, gold, and green glitter on my model. It seems a Christmas card ended up on the what doubles as my work space and before I knew it was everywhere. Damn stuff a nuisance if you ask me. Perils of crafting during the holidays I suppose...

Getting close to finishing this one up. Next up, some spackle and paint on the ends, a coat of matte varnish, some clear varnish to make the ditch look wet, and then some random foliage bits. Then onto the next section. Maybe the gate? I guess at some point I'll have to revisit my first wall section and make it look more like this one.

Wednesday, December 18, 2013

Marching Fort corner (part 3)

A few quick snaps of the work in progress and a comparison with the less sandy basing technique. I also switched up the color palate and made it less "warm." Because you know, you can never change enough things...


 Guess I better get started sharpening skewers...

Wednesday, December 11, 2013

Marching Fort corner (part 2)

Long time no update. I've been making slow progress, but was laid low for a few days with yet another cold (number three this season for those playing along at home).

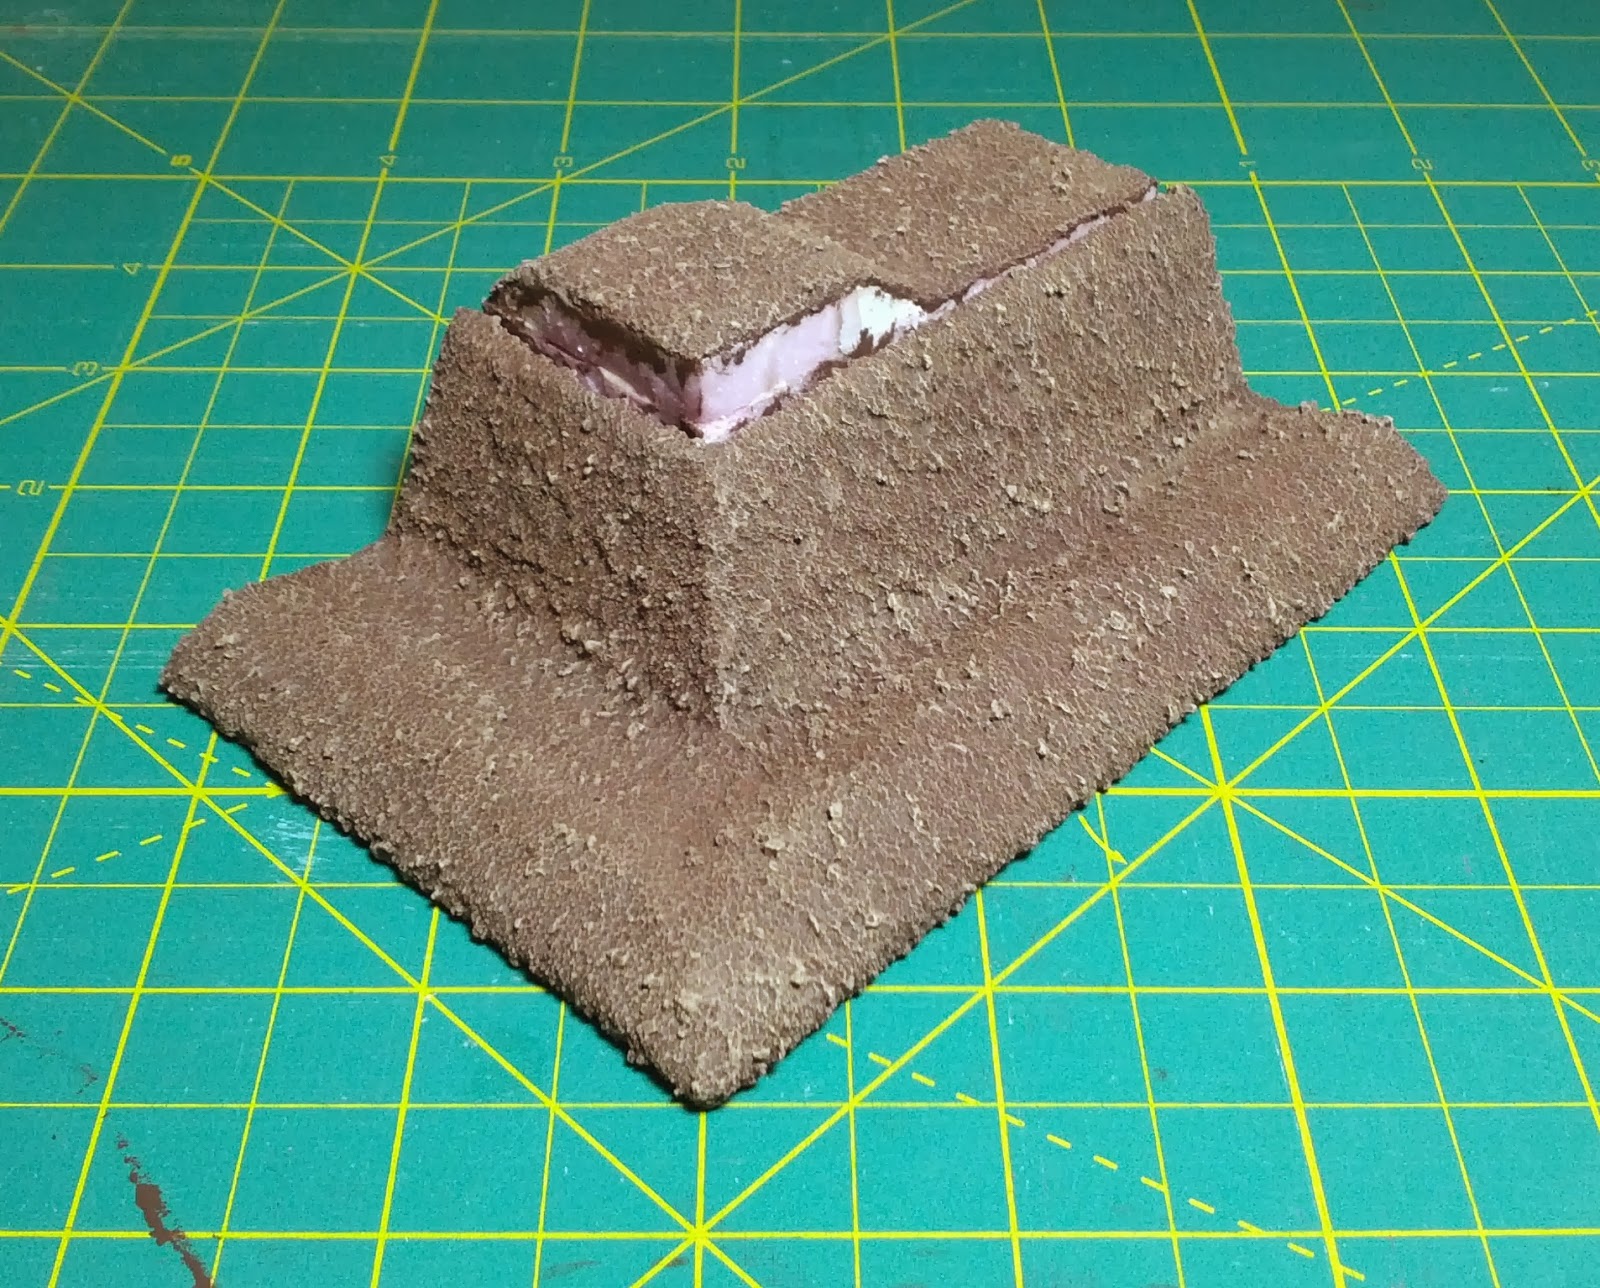
I decided to forgo a fancy corner tower or crow's nest and simply raise the level of the dirt berm and stockade at the corner of the fort. I did this by adding bit more pink foam there:


I wasn't super happy with how regular the dirt surface of the last section turned out. I had used a coffee stirrer to apply the Vallejo White Pumice last time. This time I decided to get some more texture by using a paint brush (and a very crappy one at that):


When experimenting, its important to change as many things as possible in one go, that way you'll never know what worked. With that flawed reasoning to motivate me, I decided to also change the way I painted and sealed the terrain. Last time (after struggling to adequately cover the pumice) I ended up using a mix of PVA, Burnt Umber craft paint, and playground sand. 

For this attempt, I used the same three materials, but applied them in sequence. First the PVA, then a mix of playground sand and decorative sand (yet another variable!) on the wet glue:


And then a coat of the Burnt Umber craft paint. This again proved problematic. I ended up having to mix it with PVA to get it to cover some of the deeper dimples in my roughly textured surface.


Next up my favorite part, dry brushing...

Friday, November 29, 2013

Marching Fort corner (part 1)

I was unsatisfied with cutting the the pink foam with the coping saw, so I went by the hardware store near work during lunch and scored one of these beauties. Night and day, hands-down a better tool for the job.

Last night I did some sketching and tonight I cut the foam for a corner section. I was amazed at how much more precise the cuts were. I was ready to build Troy out of pink foam!  =]


The cut below was a little rough. Not sure if my technique was off or if there is actually a grain to this stuff?


I guess a square corner section might make more sense, but the only big plywood bases I had were rectangular. Meh... 

Thursday, November 28, 2013

Marching Fort wall section (part 9)

Well, it's finally finished! Sorry for the lack of WIP shots, but I've been working in dribs and drabs and before I knew it it was done.


As I mentioned, I decided to make the ditch look wet. This is just some Humbrol enamel gloss varnish over a coat of acrylic matte varnish over the whole shooting match.


I flocked with some Army Painter field grass and then added some various tufts & flowers.


Some kitty litter rocks were added during one the previous painting sessions. These were dry-brushed with a couple different craft store acrylic grays. In hindsight I probably should have added them in more than just the ditch as the concentration of stones there looks a bit unnatural. Next time.


Here you can (barely) make out the work I did to mount the log stakes in the berm. As you recall they were separate for painting. I put some white glue down into the gap and them wiggled the fence in. Once dry, I added a bit of spackling on the sides to cover the gaps on the sides. After a day, I sanded and then painted over the spackling with more craft store acrylic burnt umber. 


 Not much to see on the backside. Just a few dry looking tufts. I debated adding some flocking here too, but decided that with all the marching going on the the marching fort, no grass would be able to take root!  =]

Now I have a decision to make. Carry on with more sections or noodle with trying a waddle fence. Stay tuned...