Showing posts with label Dark Ages. Show all posts

Sunday, July 19, 2020

Zenithal Highlight (part 2)

I've made some progress with the zenithal painting of my next three wee Scots.

I thought I'd start with the flesh. One of the videos I'd watched on painting over zenithal highlights (from Vince Venturelli's excellent "Hobby Cheating" video series) mentioned that it doesn't work well for skin, so you're better off putting down two light coats of flesh tone over the highlight:


I also worked up some of the "volumes" of the tunics with a white glaze over the zenithal highlight. This seems a bit fiddly to me (isn't this what the zenithal highlight should be accomplishing?), but the same YouTuber pointed out that all the time you put into "value sketching" at this stage will pay off at the end.

Getting the consistency of the glazes correct was a bit of a challenge and will take some practice. I'm sure it was only made worse by the fact that my paints have been sitting unused for years. So I followed the advice of another YouTuber and added a 5/16" ball bearing to each dropper bottle:


A messy proposition, but I feel like the paints are much easier to mix now.

After watching another one of the "Hobby Cheating" video series, I decided I might want to give dry brushing the hair a go. This means putting the flesh on hold for now (since dry brushing can be a bit of a messy proposition as well!). Here are the figs after an initial glaze or two of various Army Painter paints diluted with Vallejo Thinner Medium on their heads:


As usual - very slow progress as I muck about, but for me - that's mostly what this hobby is all about!

Tuesday, July 7, 2020

Trying a new technique

Long time no post! Long time no hobby, actually. With the COVIDs, I've been on furlough and have been inspired by several painter's on YouTube. So I figured, might as well break out the brushes again!

Up to this point, I've tried three different techniques for my wee Scotsmen:

  • Base coat and Army Painter Dip (cheap and not so chipper)
  • Three Color Technique (a la Kev Dallimore, et al)
  • Saxon Dog's Technique (blocking colors, washes, and highlights over a dark washed, white primer
Most of the video's I've seen on YouTube lately have started from a zenithal prime and then used inks, glazes, or "contrasts" paints to build up from there.

Here is my first attempt at zenithal priming with auto store rattle cans (that's what I had):


I see what people mean about the auto primer nozzles: the fan shape makes the spray tough to control. I had to hold the can sideways for the zenithal white coat.

Not sure how far I'll take this. Some people seem to go wild with adding more highlights on the primer layer before color blocking. And then some go wild with more washes and highlights after color blocking. I guess we'll see how the spirit moves me - and if it moves me to post again in the next *five* years!  =]

Tuesday, June 30, 2015

Finally at it again!

Well, it's been a long time.The family moved across country again and I started a new job. With all that going on I've only just now dug my hobby box out of the garage and gotten back to painting my poor neglected band of wee Scotsmen.

One of my motivations was that now that I'm back in Los Angeles, I've found some SAGA gamers much closer to me. The shop is only bout 15 minutes away - as opposed to the 2.5 hour drive I had back in Florida.

So I decided to take another crack at getting my 4 point Scot's warband completed. Since I'm still new to this hobby, I do fancy a bit of an experiment now and again. For my next batch of three figures, I decided to try the painting method described in Saxon Dog's Painting Guide (available as a .pdf if you ask him nicely).

I'll summarize the approach for those not curious enough to request the doc:

  1. Prime with white spray paint
  2. Wash the figure with black wash 
  3. Paint your base color
  4. Apply a highlight
  5. Wash with brown wash
  6. Re-highlight (with the same color as the first highlight)

I guess I'd consider this a Hybrid method. Not as point and shoot as the Army Painter dip method. Not quite as elaborate as the Three Colour method. Somewhere in between.

The idea is that you can get the "black line" look without it being as hard to see the details with a black-primed figure. But I found the black lining to be inconsistent. In some spots it wasn't very dark at all. In some spots the wash dried almost white.

Unlike Saxon Dog who used GW washes, I used the Army Painter inks. Lots of blogs have tested the various washes and inks. Like this one here.

The results:


Yes, I still need to do the bases and the javelins.

What I learned:

I really don't like washes. They always makes things look to dirty or muddy for my taste. I think the washes were helpful on the hair though and might use them again for that.

Keep paint thin (but not too thin). Initially I was too lazy to clean and use my wet palette. I found my paints got goopy on me while I painted (slowly). The wet palette really is your friend.

I really like the da Vinci Restauro 3/0 brush I got. I may have to get more of them.

So, I guess it's back to the Three Colour Method for me. Unless I decide to dabble with VeronaKid’s Shaded Undercoats Tutorial.

Wednesday, May 7, 2014

Dark Age house test wall (part 4)

So last I left you I had primered test wall #2 with cheap black acrylic. It's easy to see below that it's much harder to hide the PVA under the skinnier balsa wood.


The wattle & daub dry-brushed with some greys and a white.


The wood was done with browns mixed down repeatedly with light ivory.


I still need to weather the door pull. Probably just dry-brush with silver.


Here's a comparison between the first and second test walls. It became pretty obvious the foam core has a grain to it. I'm not sure which I prefer looks-wise, but the horizontal seems less resistant to warping.


I'm very happy with the way the second wall came out. Looking forward to moving on to a corner...

Saturday, May 3, 2014

Dark Age house test wall (part 3)

It took a while for my to source some balsa, but I'm liking it better than liberated coffee stirrers for the bracing on the new test wall. It cuts more easily, it takes texture better, and it looks more true to scale. 

I bought 3" x 1/16" x 36" balsa sheets and trimmed them to size. I cut it into more manageable 12" sections as soon as I got it home. I'm a big fan of the Alumicutter ruler, but it's still harder than I thought to keep the cuts straight. Might invest in a stripper if I keep this type of work up.


Went with balsa sheets and cut to size
Basic structure in place
Didn't fancy the last carved foam door, so went with balsa
Didn't want foam showing by the door jam, so cut in some shims
Close up of the knotty door and jam
Jazzy door pull courtesy of the wife's jewelry making supplies
Close-up of the door & pull
After two coats of dilute black craft acrylic

I'm thinking I should use 1/8" balsa (2x thickness) at the corners and door jam. Basically anywhere you can see two sides of the wood. Guess we'll find out when I attach another wall to this puppy!

That's all for now. Looking forward to dry brushing this one up.

Thursday, April 10, 2014

Dark Age house test wall (part 2)

Had a blast dry brushing the test wall. I think it came out pretty well. Learned a few things too.

Finished Construction

First coat of cheap craft black paint (added a second later)

Wood dry-brushed with cheap craft Burnt Umber 

Wood dry-brushed with cheap craft Spice Brown

Wood dry-brushed with cheap craft Bridgeport Grey

Wattle dry-brushed Charcoal, then Hippo Grey,
then Bridgeport Grey, then Antique White

Key takeaways:
  • Paint the wattle first - I ended up having to touch-up the wood beams quite a bit
  • Scuff up the boards well BEFORE assembly - especially the edges
  • Not happy with the plastic-coated paper business card I used for the door horizontals - it didn't take to texturing very well (or perhaps I forgot to do it!)
  • I need some different sized wood - the coffee stirrers are too thick and a pain to cut down
All in all, pleased as punch with how it turned out though. Good fun!

Saturday, April 5, 2014

Dark Age house test wall (part 1)

Made some progress on the test wall this week.

It started off as a sheet of Elmer's foam core board. I peeled the paper off of one side so I could give it some texture. That was rather a pain. Maybe I will try wetting the paper with water (or Windex) next time as others suggest.

Then I used an el cheapo wire brush assortment to give a rough, vaguely swirly texture to the walls in a effort to make it look like wattle and daub. I may even try to carve in some detail of wattle poking through.

Next up was cutting up some coffee stirrers to use as wood beams. I worry these may be a bit to wide to be realistic, but that's why we do things like test walls, right?


The building I'm basing this on doesn't have a door on the end wall, but again, this being a test I might as well test doors too. This one was made by scribing the foam with a mechanical pencil. The horizontal boards on the door are cut from business card.  The door jams are an attempt to cut down the too-wide coffee stirrers. Kind of hard to control how wide they will be when cutting with the grain, but I think that adds to their Dark Age charm.


The whole door was cut out from the wall and then recessed slightly. Probably not necessary with the wood frame but again: test, test, test!

Sunday, March 30, 2014

I'm back...

Well, what started out as a little time off due to the frustrations of working in small batches (because of time and space limitations) turned into a major hiatus.

But I'm feeling the itch again and I've decided to do a mess about with some foam core buildings:


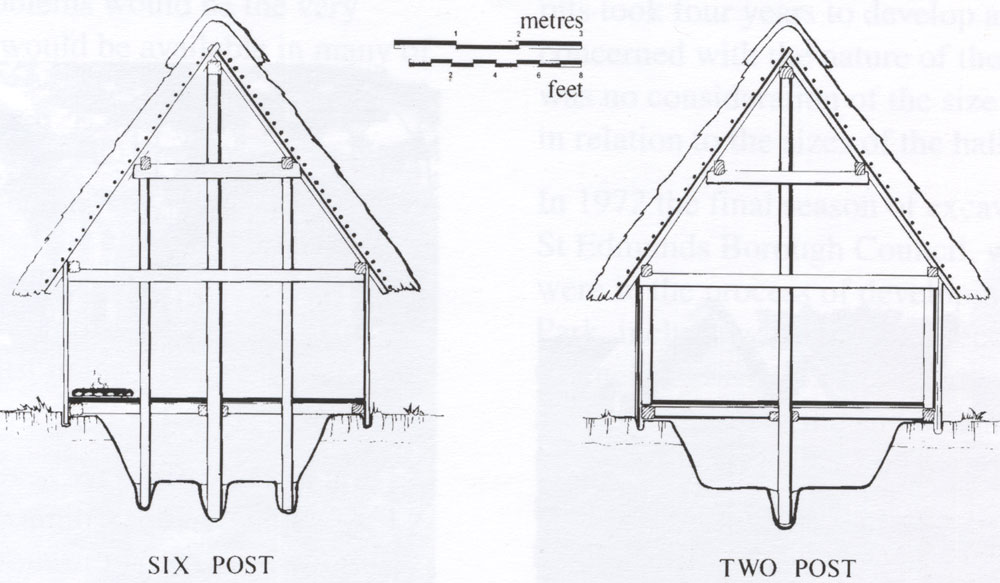
I found some very limited plans here:


Let's see how far along I can get on this project before wandering off to start something completely different...


Sunday, April 14, 2013

The Beginning

I've been fascinated with the Dark Ages since watching an episode of NOVA about a famous viking sword a few months ago. This led to me finding the most excellent Saxon Stories by Bernard Cornwell. It's been down the wormhole ever since...

By chance I stumbled across a picture of a viking miniature while googling around one day. I've always been a gamer. Well not always, but I started in the 70's with first edition D&D. My love of mini's goes back to 1975 when my brother got an amazing book called The Wargame for Christmas (Thank you, Mrs. Schwartz!). I had a small collection of miniatures in the 80's. I would play around with them, but I never gamed with them. I never bothered painting them either. I think goes a long way toward explaining my eccentric nature! Well, that and genetics...


Back to today: my interest in the Dark Ages and miniatures led me to SAGA. SAGA is a miniatures-based, Dark Age, skirmish game by a UK outfit called Gripping Beast. There's a good intro to it on this much better blog. I've spent a number of weeks researching and acquiring rule books, miniatures, and all the stuff needed to assemble, paint, and base them. A lot of it was mail-ordered and some of it took way too long to get here (I'm looking at you Michigan Toy Soldier!). But finally, I'm all set up with my Scots starter band and a complement of levy.

I'm new to this whole painting of miniatures thing, so I've decided to experiment with some of the different techniques I've read about online. I've been so inspired and educated by the blogs of other hobbyists, that I've decided to document my stumblings publicly. Either that or I'm so intimidated by the quality of the work I've seen out there, I'll do anything to put off painting!