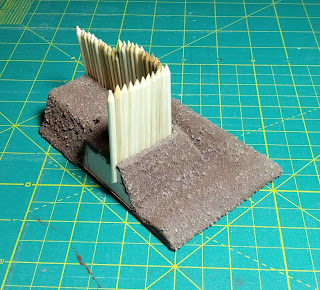
Here they are glued into the base. They were first glued to the cross-members and then dry-brushed various shades of grey and brown. I used shorter half-rounds for the cross-members this time. On the last wall section a single, round, cross-member went all the way across. That's one tall tree! Plus, you know my motto: you can't change enough things. I also hit some of the larger stones on the terrain with some greys.
Getting close to finishing this one up. Next up, some spackle and paint on the ends, a coat of matte varnish, some clear varnish to make the ditch look wet, and then some random foliage bits. Then onto the next section. Maybe the gate? I guess at some point I'll have to revisit my first wall section and make it look more like this one.


I think I've mucked with my white balance somehow. The pictures at the top are more representative of the color of the terrain.
ReplyDeleteLooking great a whole fort like this will look ace :)
ReplyDeletePeace James
Looks excellent if you ask me!!
ReplyDeleteI am really enjoying this project. I can't wait to see the pieces together.
ReplyDeleteFrom Tony Harwood (Dampfpanzerwagon).
ReplyDeleteIf you are interested in having a copy of the book - Building Wargame Terrain.
Please contact me at;
dampfpanzerwagon (at) yahoo.co.uk
Regards
Tony Harwood
Waooow :D Excellent, maybe too much work for a full fort but maybe a small motte or fortified farm.
ReplyDelete